
Lifestyle
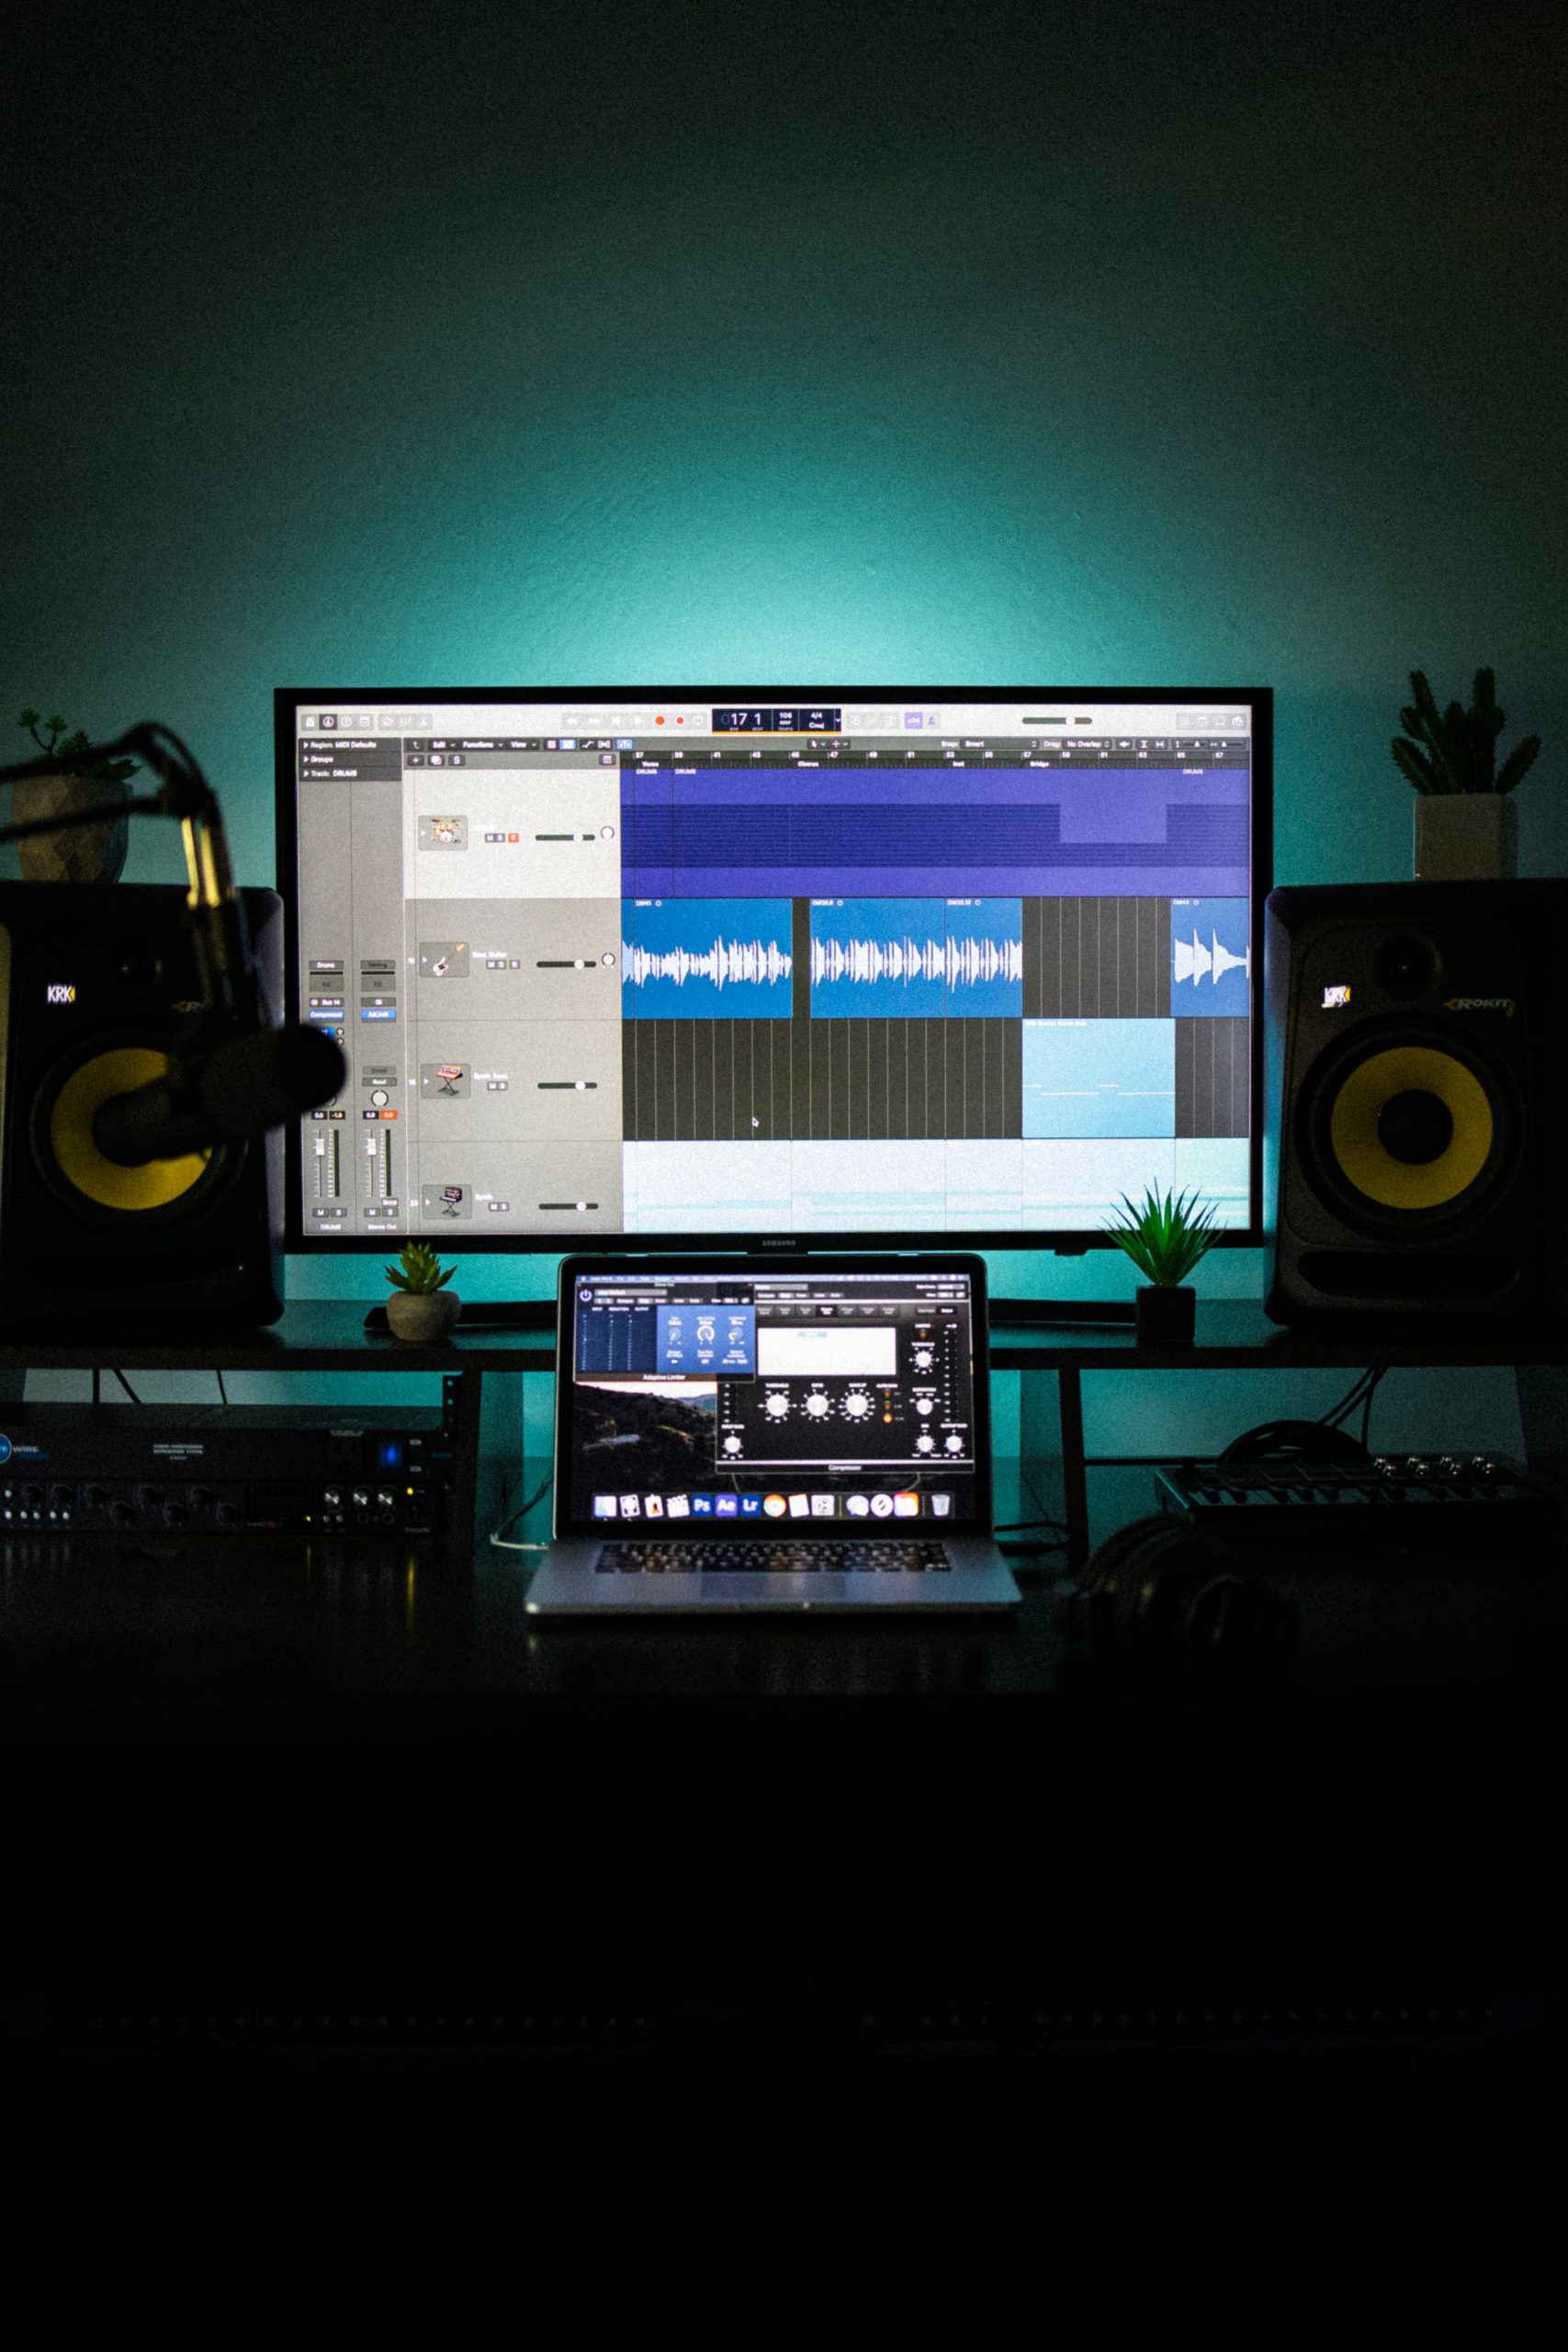
Building A Home Studio on Budget
What does this post cover?
– A 10-Step Guide to a budget-friendly home studio
– Tips on when to invest as well as when to skimp
– Obtain professional-quality noise without requiring a home mortgage
Digital age innovation allows us to provide great-sounding arise from a residence workshop built on a limited budget. Case in point: Billie Eilish’s prize-winning debut cd was recorded as well as generated in her house videotaping studio. This is good news for a residence-taping enthusiast or independent artist.
The most frugal method to build an economical home studio is to maintain it easily. It begins with a sincere assessment of the crucial parts in your operations. Outline your demands, shortlist a couple of different options, and get your cash’s worth from every little thing you get.
Budget Plan Residence Studios: Exactly how inexpensive is cheap?
A workshop can be economical without seeming affordable. It is not concerning getting the most inexpensive entry-level tools across the board. It is about ‘budgeting’ and also making wise options. Invest when it is necessary, and also conserve when it is functional.
The other hand is that the process is daunting, specifically for novices. There’s a dizzying checklist of choices covered in influential advertising and marketing. You have to look through great deals of reviews and research studies. As well as, then there is an always-around-the-corner chance of the dreadful Gear Procurement Disorder (GAS).
Cost-effective alternatives and also creative workarounds can conserve you a few hundred dollars. Fortunately, we’re right here to streamline that process for you with a checklist of vital equipment to establish a house studio and also go over ways to do it cost-effectively. Below is what we are checking out:
1. Room
2. Computer (System, RAM, Storage).
3. Sound User interface.
4. Workshop Monitors.
5. DAW.
6. Microphones.
7. Earphones + Earphone Amp.
8. MIDI Keyboard.
9. Cables, Stands, as well as Equipment.
10. Room Treatment.
10 Steps to Building a Home Recording Workshop.
Step 1: Pick an area.
The dimension of your house tape-recording workshop depends totally upon exactly how you intend to utilize it. Are you planning to track a drum established or a full band? Locate a room huge sufficient to suit a band plus the devices. Assume spare garages, huge basements, as well as the kind.
If you’re a self-producing songwriter, an electronic songs artist, or need a recording area to just videotape vocals, guitar, keyboards, and also other specific tools with only one or two individuals performing each time, a regular-sized spare room or bedroom will certainly suffice.
If your house arrangement were most likely to be made use of purely for blending objectives, your focus would certainly need to be on your speaker configuration, acoustic treatment and any type of actions to make your studio sound better, which we will manage in the later area of this message.
While picking a space to document, remember 2 points: avoid low ceilings and also square areas. Because of the physics of sound waves, reduced ceilings reflect sound. This results in sloppy and uncertain microphone recordings.
If you’re stuck with a reduced ceiling, acoustically treating the ceiling ends up being necessary (budget for the additional cost). Square spaces are in proportion. They have null points where frequencies counteract due to representations from parallel wall surfaces. It creates awful vacant spots in the sound in that space, which can shake off your precision.
Step 2: Assemble a COMPUTER.
Theoretically, any kind of typical customer system or business laptop can be used to videotape and also produce some standard songs. In practice, moderate computer system specs expose their limits when the complexity of your manufacturing ranges up. Nothing kills the mojo quicker than a laggy computer.
We would certainly recommend buying a high-performance computer system with a 64-bit os. It has to promote a substantial amount of tracks, plugins, and example collections without choking up. Budget for it kindly and buy the most effective one you can pay for at the provided moment.
Currently would be a great time to experience this overview on the minimal laptop/PC specs for music production. As a standard, I suggest a computer system with at the very least 8GB RAM and also a 4-core cpu. It’s also worth optimizing your computer for song production.
That will work if you are utilizing synths, producing digital songs, or any type of genre that does not depend excessively on large sample libraries. Yes, you can manage with 4GB yet just barely so. Can you pay for a much better processor with 16 to 32GB of RAM? Just do it (Shia LaBeouf voice).
Storage space: SSD or HDD?
Managing sound can rack up a great deal of files in time. Begin with 1TB of inner hard disk drive room and also add even more exterior drives later on. For the sharpest performance, utilize a Strong State Drive (SSD) as the key (OS) drive, with a disk drive (HDD) for secondary storage space.
SSDs are much more costly than HDDs, so a hybrid method allows you to choose a fairly tiny SSD (128 or 256GB) for your core programs, as well as utilize slower but more affordable HDDs (1TB) for big documents as well as collections. It is a good middle-ground for those on a budget plan.
You do not need a committed GPU for music manufacturing.
A ‘specialized’ graphics card is unnecessary if you just deal with sound. Unless, certainly, you wish to play games throughout break with your buds. That or you prepare to do video editing, animation, or various other graphics-intensive tasks. That stated, song software has a lot of aesthetic web content so ensure that the incorporated graphics on the system is of reasonably excellent quality.
Affordable Tip: Custom vs. Pre-Built vs. MAC.
If you are taking a look at Macs, you ought to toss ‘on a budget plan’ gone. We’re talking about anything between $1300 as well as $2000 depending upon your configuration. The premium rate is for Apple’s ease of use, tight assimilation with Apple items, and also accessibility to Logic Pro X.
Structuring a personalized PC by sourcing specific parts gives you numerous alternatives. It works out less expensive than getting pre-built systems. With the above setup, you can build the right computer for less than a thousand bucks.
If you desire your rig to be mobile, laptops with similar arrangements can also be discovered for around the same cost. Nonetheless, a laptop’s dimension as well as power restrictions can’t square up to desktop computer systems within the very same price range. I only recommend laptop computers (with a 15-inch screen) if you value mobility and/or require it to double up for online performances.
Step 3: Select an Audio Interface.
An audio interface functions as the intermediary between the analog world of noise and also the digital realm of your computer system.
Your selection of a user interface should factor the number of inputs you require or the amount of resources you intend to record at once. Audio user interfaces vary primarily in regard to the variety of inputs as well as outcomes. Much more inputs mean even more sources (tools or microphones) can be taped all at once.
What regarding outcomes? Most people just make use of a single set of studio displays. 2 outputs are required. Nonetheless, mixing designers might require numerous recommendation audio speakers (near area screens) and/or outboard equipment in their setup. This mandates an interface with at least 4 results.
If you only intend to tape-record one or two resources at once, as an example, a singer-songwriter playing guitar as well as vocal singing all at once, 2 inputs will certainly be sufficient. The majority of interfaces in the entry-level classification have 2-input as well as are tailored in the direction of small recording workshops.
The EVO 4 (and also EVO Start Recording Package) are both solid alternatives, audio terrific and also won’t cost the earth. If you plan to videotape a drum kit or a full band, you need a lot more inputs or a great interface with ADAT growths (like the iD14).
Step 4: ‘Pair’ it with Workshop Monitors.
Studio monitors are made to be sonically flat or neutral, meaning that no frequencies are artificially enhanced or reduced. They guarantee your music converts along with feasible across a selection of customer systems, without skewing your referral viewpoint.
Good recommendation speakers will certainly make a recognizable distinction to your home-taping workshop, extra so if you plan to mix and understand in a residence workshop arrangement. Nevertheless, recommending a specific type or size is tricky as that would certainly vary based on your setup.
Screens are commonly categorized in terms of the dimension of their vehicle driver, ranging from 3 or 4 inches as much as 10 or 12 inches. Simply put, larger motorists result in more power as well as can generate reduced frequencies.
Lower frequencies, nonetheless, can have a tendency to come to be bothersome in untreated or small spaces, so larger does not always imply far better for your functions. Exactly how neutral even the very best pair of monitors will appear depends on various other elements like audio speaker positioning and also room treatment, which we will certainly touch upon later on.
For little to medium-sized rooms (8 ′ x 10 ′), studio displays with 5 or 6-inch motorists will suffice and also you can normally get hold of them for around $300 to $400 for a set.
If you have a space larger than that (12 ′ x 15 ′) and want a regularity response that goes lower, select 6.5 to 8-inch workshop monitors. Dimensions above that aren’t very recommended (or needed) for a first workshop as they mandate significant acoustic therapy to sound right.
Step 5: Digital Sound Workstation (DAW).
If you are unclear concerning what a DAW is and how to determine what is right for you, we’d advise that you start below. When it comes to DAW (in the context of prices), you have three selections:.
Free DAWS: This refers to any kind of DAW offered as a totally free variation such as Audacity, GarageBand, and also Cinch by BandLab. Several of these are (almost) full-featured but they fade in contrast to paid alternatives.
We’d only suggest these for beginners who have no experience with audio production. You can rely on them briefly if your spending plan is significantly reduced, but only until you conserve up sufficient for a full-capacity specialist DAW.
Limited Functionality DAWs: DAWs supply a totally free trial period through test variations to ‘test’ the software before you dedicate to buying it. You should get at the very least one of these totally free with the various other equipment you acquire.
Lots of audio user interfaces include a ‘Lite’ version of a digital sound workstation like Ableton, Cubase, or others. They aren’t long-lasting options. You have to devote to a full version one way or another.
Paid DAWs: Pro-grade DAWs consist of FL Studio, Reaping Machine, Pro Equipment, Cubase, Logic Pro X, to name a few. They vary in functions, operations, and also rates. We might invest hours discussing these. Eventually, you have to choose one based on what interests you in regard to functionality, UI, and workflow.
Abelton Live and FL Studio are maximized for digital or sampled-based manufacturing. Reasoning Pro X is a piece of cake if you are on a Mac system as a result of its rich function set. Reaper, Cubase, Pro Equipment have a reliable process if your emphasis gets on recording, blending as well as editing audio.
Budgeting for a DAW:.
As for prices goes, the Reaping machine is the most inexpensive full-fledged DAW available at $60 for a personal/small business permit (with the caution that it doesn’t come with any bundled online tools). This rate additionally covers 2 major version upgrades.
Reasoning Pro X, Workshop One, Cubase, FL Workshop, as well as Ableton Live are valued between $200 and also $500 (common variations), with Reasoning as well as FL supplying cost-free upgrades. An additional choice is to opt for a registration model like PreSonus Studio One, which offers an annual membership at a little over $100.
Pro Equipment, while probably the “sector requirement” for major workshops, remains one of the most expensive, with a subscription-only alternative at $500 annually for its ultimate version. It is a hard option for brand-new budget-conscious house workshops.
Step 6: Load the Microphones.
Every workshop needs at least 1 or 2 microphones to videotape audio, particularly vocals, acoustic guitar, as well as other instruments. Your microphone collection can (as well as will certainly) grow in time. In the meantime, the most effective method is to acquire one workhorse and also one ‘specialized’ microphone.
A workhorse would be dynamic mics like Shure SM57, SM58, or Sound Technica AT202. These are attempted and examined standards that yield great results with almost anything you throw at them. All these mics set you back around about $100.
Your ‘specialty’ microphone ought to be a condenser or a niche mic (optional) for particular use in your genre. As we have actually discussed the EVO Beginning Recording Package includes a condenser mic that seems excellent and also is perfect to obtain you begun in-home recording.
Step 7: Headphones as well as Amplifier.
Good “cans” are important for keeping track of or as a second reference while producing or blending. Like with monitors, sonically level earphones are better in the studio. A level audio guarantees precise reproduction without including its own EQ or improvements.
In addition, they should be adaptable and must be securely firmly around your ears. Ergonomic designs are essential to avoid pain or pain after extended use. A great seal, on the other hand, protects against leak (hemorrhage) right into the microphone when you document.
If you’re picking up the Begin Recording Package you’ll obtain a high-quality set of headphones consisted of, as well.
If you will certainly be videotaping multiple musicians concurrently, you need sufficient headphones to cover surveillance for everybody. The Nero will do just that!
Step 8: Obtain a MIDI keyboard.
I took into consideration making this action optional but taking into consideration exactly how ubiquitous MIDI keyboards have actually become in a modern music studio, a house arrangement would certainly be doing not have without one.
Besides just playing digital instruments, MIDI keyboards work for manufacturing jobs like setting off automation, samples, spot changes, and also a whole lot much more. The adaptability of MIDI in post-production methods you can modify, deal with, and layer performances as required.
Relying on your size needs and also area capabilities, MIDI keyboards can range from compact 25-key versions to 88 keys with full-sized tricks. For a great budget keyboard, you’re looking at a price ranging from $150 to $300 differing with the size as well as features.
Step 9: Think about space treatment.
Whether you’re recording through a microphone or mixing a track, your most significant enemy is the sound reflecting off walls and also various other surface areas. Space treatment is the key to premium audio in a residence taping studio.
Area therapy involves making use of unique materials to minimize these representations. Bass regularities have a tendency to be the most problematic to control in tiny areas. They can show off walls as well as interact with the initial acoustic wave, creating factors of bass build-up and bass void alternately.
To combat this, panels of an absorbent product like foam panels, rockwool, or glasswool can be positioned in critical placements to reduce low-end reflection. Extensively readily available acoustic foam is likewise beneficial to manage reflections of higher frequencies.
A combination of high and also low-frequency absorption products can be used to ‘mute’ an area in a well-balanced means to ensure maximum nonpartisanship. There is no scarcity of details online regarding acoustical treatment, including measurements, materials, as well as rates.
Although prefabricated space therapy sets are readily available, I extremely suggest sourcing basic materials as well as hiring a local carpenter to build personalized therapy for your area. This usually works out much cheaper while likewise being tailored to your particular space.
Producer Hive conducted a podcast with the owner of Sonarworks, covering lots of ideas on exactly how to ideally treat your home workshop. I recommend giving it a watch!
Step 10: Round it up with cable televisions as well as hardware.
From keyboard stands to a singing booth to screen arms, there are great deals of miscellaneous factors to consider. Several of these are required, others represent your recording devices (i.e. electric guitar amps). You can fit in as many things as possible to boost your efficiency as well as convenience.
Among the fundamentals, you require a pop filter for condenser mics and a microphone stand. Pop filters are essential when you are recording vocals using a condenser microphone. However, the majority of them do the same point so you can decide on the first good one you locate.
I highly recommend a suitable set of microphone stands. A tough mic stand is essential. I have seen far too many low-cost ones topple. I would rather pay a couple of extra bucks for better than emulate a shattered condenser.
Finally, you require instrument cable televisions and also mic wires– XLR Cables for vibrant mics. You can get a standard 25-foot XLR cord for $12 a pop. For even more options, you can look into our article on the very best XLR wires for residence recording.
Final Thoughts.
We initially develop a workshop in our residence and after that construct a home in our studio. Whether its a decked-out specialist workshop or an improvisated space up under the stairways, the arc of our swivel chair is our home window to the world– outside and within. Cosign?
My objective, with this post, was to highlight exactly how you can save money and construct a studio to accomplish terrific recordings within an affordable budget. It’s possible without needing to get another home mortgage. Of course, as you grow, you will GAS over bow mics and vintage equipment.
The home mortgage will occur anyway.
Read More: Make Traveling Easier with the Help of These Handy Apps


Lifestyle
Build Your Dog’s Confidence with Car Travel: Tips and Tricks
If you’re a dog owner, you know that car travel can be a bit of a challenge for some pups. Some dogs find being in a moving car stressful and can show this in a number of ways, including barking, whining, heavy panting, vomiting, or even refusing to get into the car in the first place. The good news is that you can help your furry friend overcome this fear and build their confidence in car travel. In this blog, we’ll provide you with some tips and tricks to help your dog feel more comfortable and secure during car rides. From creating a familiar and comfortable environment to gradually introducing the inside of the car, we’ll take you through each step to help your dog associate car travel with positive experiences. With a bit of patience and consistency, you can turn car travel into an enjoyable experience for both you and your furry friend.

In this blog, you will learn how to help your dog feel more confident during car travel. Many dogs experience stress and exhibit behaviors such as barking, whining, panting, vomiting, or refusing to get into the car. To address this, it’s important to create a positive association with the car and ensure your dog is secured to prevent any potential risks.
The first step is to create a comfortable and familiar environment by placing your dog’s bed and blankets inside the car. This will help your dog feel more secure and reduce the likelihood of losing balance while the car is moving. If your dog is crate trained, a secured crate can also provide a safe space in the car.
Next, get your dog used to the car by walking them around the vehicle with the engine off and doors shut. Reward them with treats, toys, or praise whenever they calmly approach the car, sniff it, or investigate it. Continue these short sessions until your dog is comfortable walking near the car.
Once your dog is relaxed around the outside of the car, you can introduce them to the inside. Start by placing some of their blankets inside and reward them for moving towards the open door. Gradually move the treat further into the car until your dog feels comfortable climbing inside. You can also sit in the car with your dog and offer a long-lasting treat to help build a positive association.
The next step is to close the door while your dog is inside the car. Start by closing it for a few seconds and gradually increase the time. If your dog becomes worried, repeat the step with the door partly closed and gradually work up to a fully closed door.
Once your dog is comfortable with the door closed, introduce the sound of the engine. Keep the car stationary, engine running, with your dog inside and offer a treat to help them relax. Gradually increase the length of time the engine runs and only continue if your dog remains calm.
When your dog is familiar with the sound of the engine, start with short drives and gradually increase the distance. Make sure the first few trips are to fun places to build a positive association. By following these steps, you can help your dog feel more confident and comfortable during car travel. To learn more about teaching your dog new skills, visit our website.
Lifestyle
10 Expert Tips for Renting a Car in the US: The Ultimate Guide
Renting a car can be a convenient and affordable option when traveling in the United States. However, with so many options to choose from and factors to consider, the process of renting a car can quickly become overwhelming. That’s why we’ve compiled our top 10 expert tips to help make the process easier and ensure that you have a stress-free rental experience. From signing up for a car rental rewards program to avoiding expensive insurance options, inspecting your car, and refueling, our tips will help you navigate the car rental process like a pro. Whether you’re a seasoned traveler or renting a car for the first time, read on to learn our expert advice on renting a car in the US.

Let me present to you our expert tips and advice on renting a car during your trip. Although car rental may seem like an easy process, choosing the right options can be overwhelming. GPS, insurance, and refueling are just a few of the many considerations to take into account when renting a car. Therefore, we have compiled the top 10 tips that you need to know when renting a car in the US.
Before we dive in, we’d like to introduce ourselves to those of you who are new to our channel. Trip Astute is a travel channel that focuses on sharing tips and tricks to make traveling easier, more affordable, and enjoyable. Our goal is to help you maximize your travel experience by providing expert travel advice, points and miles strategies, and innovative gear. If you find our content interesting, please consider subscribing to our channel.
Now, let’s get started with our top tips. Some of these may be obvious to savvy and experienced travelers, but we hope that there are a few tips in here that are still helpful to you.
Tip number one is to sign up for a car rental rewards program. Some credit cards or your workplace may offer access to a car rental rewards program. If this is the case, make sure to enroll in the loyalty program. One of the biggest perks is that some of these programs allow you to skip the check-in counter and go straight to your car. By using your reservation app or checking the lot board for your name, you can get on the road faster. If you have a premium travel credit card like the Chase Sapphire Reserve, you may have access to higher status levels with rental car companies. Check out our video on maximizing these benefits on the Chase Sapphire Reserve for more information.
Tip number two is to inspect your car. Although you may be eager to hit the road, we recommend doing a quick visual inspection of your car’s exterior. Check for any damage, especially big scratches or dents, and make sure they are recorded before you leave the rental car lot. You don’t want to be held liable for any damages to the car that were there before you rented it, especially if you don’t have primary insurance coverage through a credit card.
Which brings us to tip number three – know your insurance options. Many premium travel credit cards offer primary insurance coverage for rental cars. This allows you to decline the expensive and limited insurance coverage offered by the rental car company. We have created a video that explains how this works and covers different scenarios for coverage. It’s a bit complicated, but it’s worth understanding before your next car rental.
Tip number four – don’t use points to book your car rental. Although this tip is a bit controversial, we’ve heard that car insurance coverage from a credit card only applies if you pay for the rental car in full with your credit card. Therefore, we generally pay for car rentals out of pocket instead of using points. However, if you have any experience or first-hand knowledge with this situation, please let us know in the comments section.
Tip number five is to avoid underage rental fees. Rental car companies often charge extra if you’re under 25 and want to rent a car. While this charge is hard to avoid if you’re under 25, there are some potential ways to get around it. If you’re a AAA member, you can get the fee waived with Hertz. And if you’re a USAA member, you can do the same with Enterprise.
Tip number six is to avoid refueling options. Rental car companies often offer refueling options that seem convenient but are generally a bad deal. One option is to refill your car to the necessary level, but at three or four times the normal cost of fuel. Another option is to pay for a full tank refill, but the per-gallon rate is generally a lot higher than the local gas stations. We recommend avoiding these options and simply refilling the tank yourself before returning the car.
Tip number seven is to consider your pickup and drop-off locations. Rental car companies may charge additional fees if you pick up or drop off the car at a different location than where you rented it. Therefore, it’s important to consider your travel itinerary and choose the most convenient pickup and drop-off locations to avoid these fees.
Tip number eight is to be aware of toll roads and fees. Some rental car companies may offer electronic toll payment options, but they often come with high fees. If you plan on using toll roads during your trip, it’s best to bring your own toll transponder or pay for tolls out of pocket to avoid these additional fees.
Tip number nine is to use GPS or navigation apps. Most rental cars come with GPS or navigation systems, but they may also come with additional fees. To save money, you can use your own smartphone and a navigation app like Google Maps or Waze. Just make sure to bring a phone mount to secure your phone in the car.
Finally, tip number ten is to return the car on time. Rental car companies may charge extra fees if you return the car later than the agreed-upon time. To avoid these fees, make sure to plan your trip accordingly and allow enough time to return the car before the deadline.
Overall, renting a car during your trip can be a convenient and cost-effective way to explore your destination. However, it’s important to be aware of the potential pitfalls and fees associated with car rental. By following these tips and doing your research beforehand, you can save money and have a stress-free rental car experience.
Read More: Best 8 Smart Ways to Save Money on Travel

Smart Ways to Save Money on Travel
Traveling can be costly, but with some careful planning and wise choices, you can stretch your budget and save money on your trips. Here are some of the best strategies for saving money while traveling:
1. Hunt for deals and discounts: Take advantage of websites and online resources that offer deals on flights, hotels, and activities. Subscribe to newsletters and follow your preferred travel companies on social media to stay updated on promotions and discounts. Utilize tools like Google Flights to compare prices and find the best deals.
2. Travel during the off-season: Prices for flights, hotels, and activities tend to be higher during peak tourist seasons. Consider traveling during the off-season to save money and avoid crowds, while also enjoying a more authentic travel experience.
3. Explore alternative accommodations: Hotels can be expensive, particularly in popular tourist destinations. Look into alternative accommodations like vacation rentals, hostels, or camping options to save money on your lodging.
4. Seek out free or low-cost activities: Many destinations offer free or low-cost activities that can be enjoyable while also being budget-friendly. Research ahead of time to find out about local parks, beaches, walking tours, or markets that you can explore without breaking the bank.
5. Pack light: Checking in a bag on a flight can be costly, so try to pack everything you need in a carry-on. This way, you can save money on baggage fees and minimize the risk of lost luggage.
6. Avoid tourist traps: Popular tourist attractions are often expensive and crowded. Instead of visiting these costly spots, consider looking for local experiences and hidden gems that offer a more authentic and budget-friendly travel experience.
7. Eat like a local: Dining out can be a significant expense while traveling. Save money by eating like a local, such as purchasing ingredients from local markets or supermarkets to cook your own meals, or trying street food and local restaurants that are often cheaper than tourist-oriented establishments.
8. Use public transportation: Renting a car can be expensive, especially for international travel. Consider using public transportation as a cheaper and more convenient option.
By following these tips, you can save money on your travels and enjoy a budget-friendly vacation. With some careful planning and wise decision-making, you can have a fantastic trip without breaking the bank.
Read More: Top 5 Places for Solo Travelers: Where to Stay for an Unforgettable Journey

Navigating Legality in the Streaming Age with IPTV

5 Smart Investment Ideas for Beginners in 2023: A Comprehensive Guide

7 Ways on How to Save Money during a Recession in 2023
-

 Fashion7 years ago
These ’90s fashion trends are making a comeback in 2017
-
Finance12 months ago
5 Smart Investment Ideas for Beginners in 2023: A Comprehensive Guide
-
Entertainment7 years ago
The final 6 ‘Game of Thrones’ episodes might feel like a full season
-
Fashion7 years ago
According to Dior Couture, this taboo fashion accessory is back
-
Entertainment7 years ago
Disney’s live-action Aladdin finally finds its stars
-
Entertainment7 years ago
The old and New Edition cast comes together to perform
-
Sports7 years ago
Phillies’ Aaron Altherr makes mind-boggling barehanded play
-
Business7 years ago
Uber and Lyft are finally available in all of New York State